Tired of being tired?
Showing posts with label Food. Show all posts

Bacon Jalapeño Poppers

This recipe has pretty much become a go-to for holiday snacks in our house. We sometimes make them before we take off to go camping, or before the weekend begins. They can be made up ahead of time and placed in an airtight container in the refrigerator and popped into the microwave, air fryer, or oven for a short time to warm them back up, because they are best served hot.

  • 20-30 jalapeño peppers (seeded and cut lengthwise in half) **use gloves for this**
  • 3-4 (8oz) blocks of cream cheese (room temperature)
  • 1 tablespoon of onion powder
  • 1 teaspoon of pepper
  • 1 teaspoon of salt (to taste)
  • 1 tablespoon of jalapeno juice (this adds some additional spice to the mix)
  • 10-12 jalapeno seeds (more or less to your own spice tolerance)
  • Cooked bacon (entire package)

Mix cream cheese, onion powder, pepper, salt, and seeds together in a bowl and fill each jalapeño shell with mixture. Be sure to overfill to your desired amount. Cut bacon into small diced pieces and sprinkle on top of cream cheese mixture. 

Place on baking sheet and bake for 20-30 minutes in a 350 degree oven, or until the tops are browned and bacon becomes crispy.

Enjoy!

Nuts and Seeds Banana Bread

  • 1/2 cup melted salted butter
  • 1 3/4 cups all-purpose flour
  • 1/2 cup granulated sugar
  • 1 tsp. baking soda
  • 1 tsp. ground cinnamon, or more to taste
  • 1/2 tsp. salt
  • 1/4 tsp. ground or grated nutmeg
  • 2 eggs
  • 1/4 cup sour cream
  • 1/2 cup light brown sugar, packed
  • 1 tsp. vanilla extract (not imitation)
  • 4 very ripe bananas, mashed (about 2 cups)
  • 1/2 cup, or more of seeds and nuts (peanuts, pumpkin, flax, sunflower, almond, cashew, chia)

Preheat the oven to 350°F (175°C), and butter a loaf pan.

In a mixing bowl, mix together the ripe bananas and melted butter. Mix in the baking soda and salt. Then add in sugars, eggs, and vanilla extract. Mix in the flour last.

Pour the batter into greased loaf pan and sprinkle 1/2 of the nuts on top. Halfway through baking, sprinkle the remaining nuts on top and finish baking.

Bake for 55 to 65 minutes, or until a toothpick comes out clean. Let cool completely before slicing.

This recipe is customizable in so many ways. Instead of bananas, try canned pumpkin, zucchini, even watermelon. Instead of nuts, add raisins, cranberries, currants, blueberries, or even strawberries. The possibilities are endless. We have tried all different ways to incorporate foods into this recipe. It should be called, "Everything in the Cabinet Bread."☺ I hope you enjoy it, because it's a huge favorite in our house! If you give it a try, let me know by tagging me on social media. I would love to know what you think of it, or if you added something fun.

Chocolate Chip Cookies Five Ways

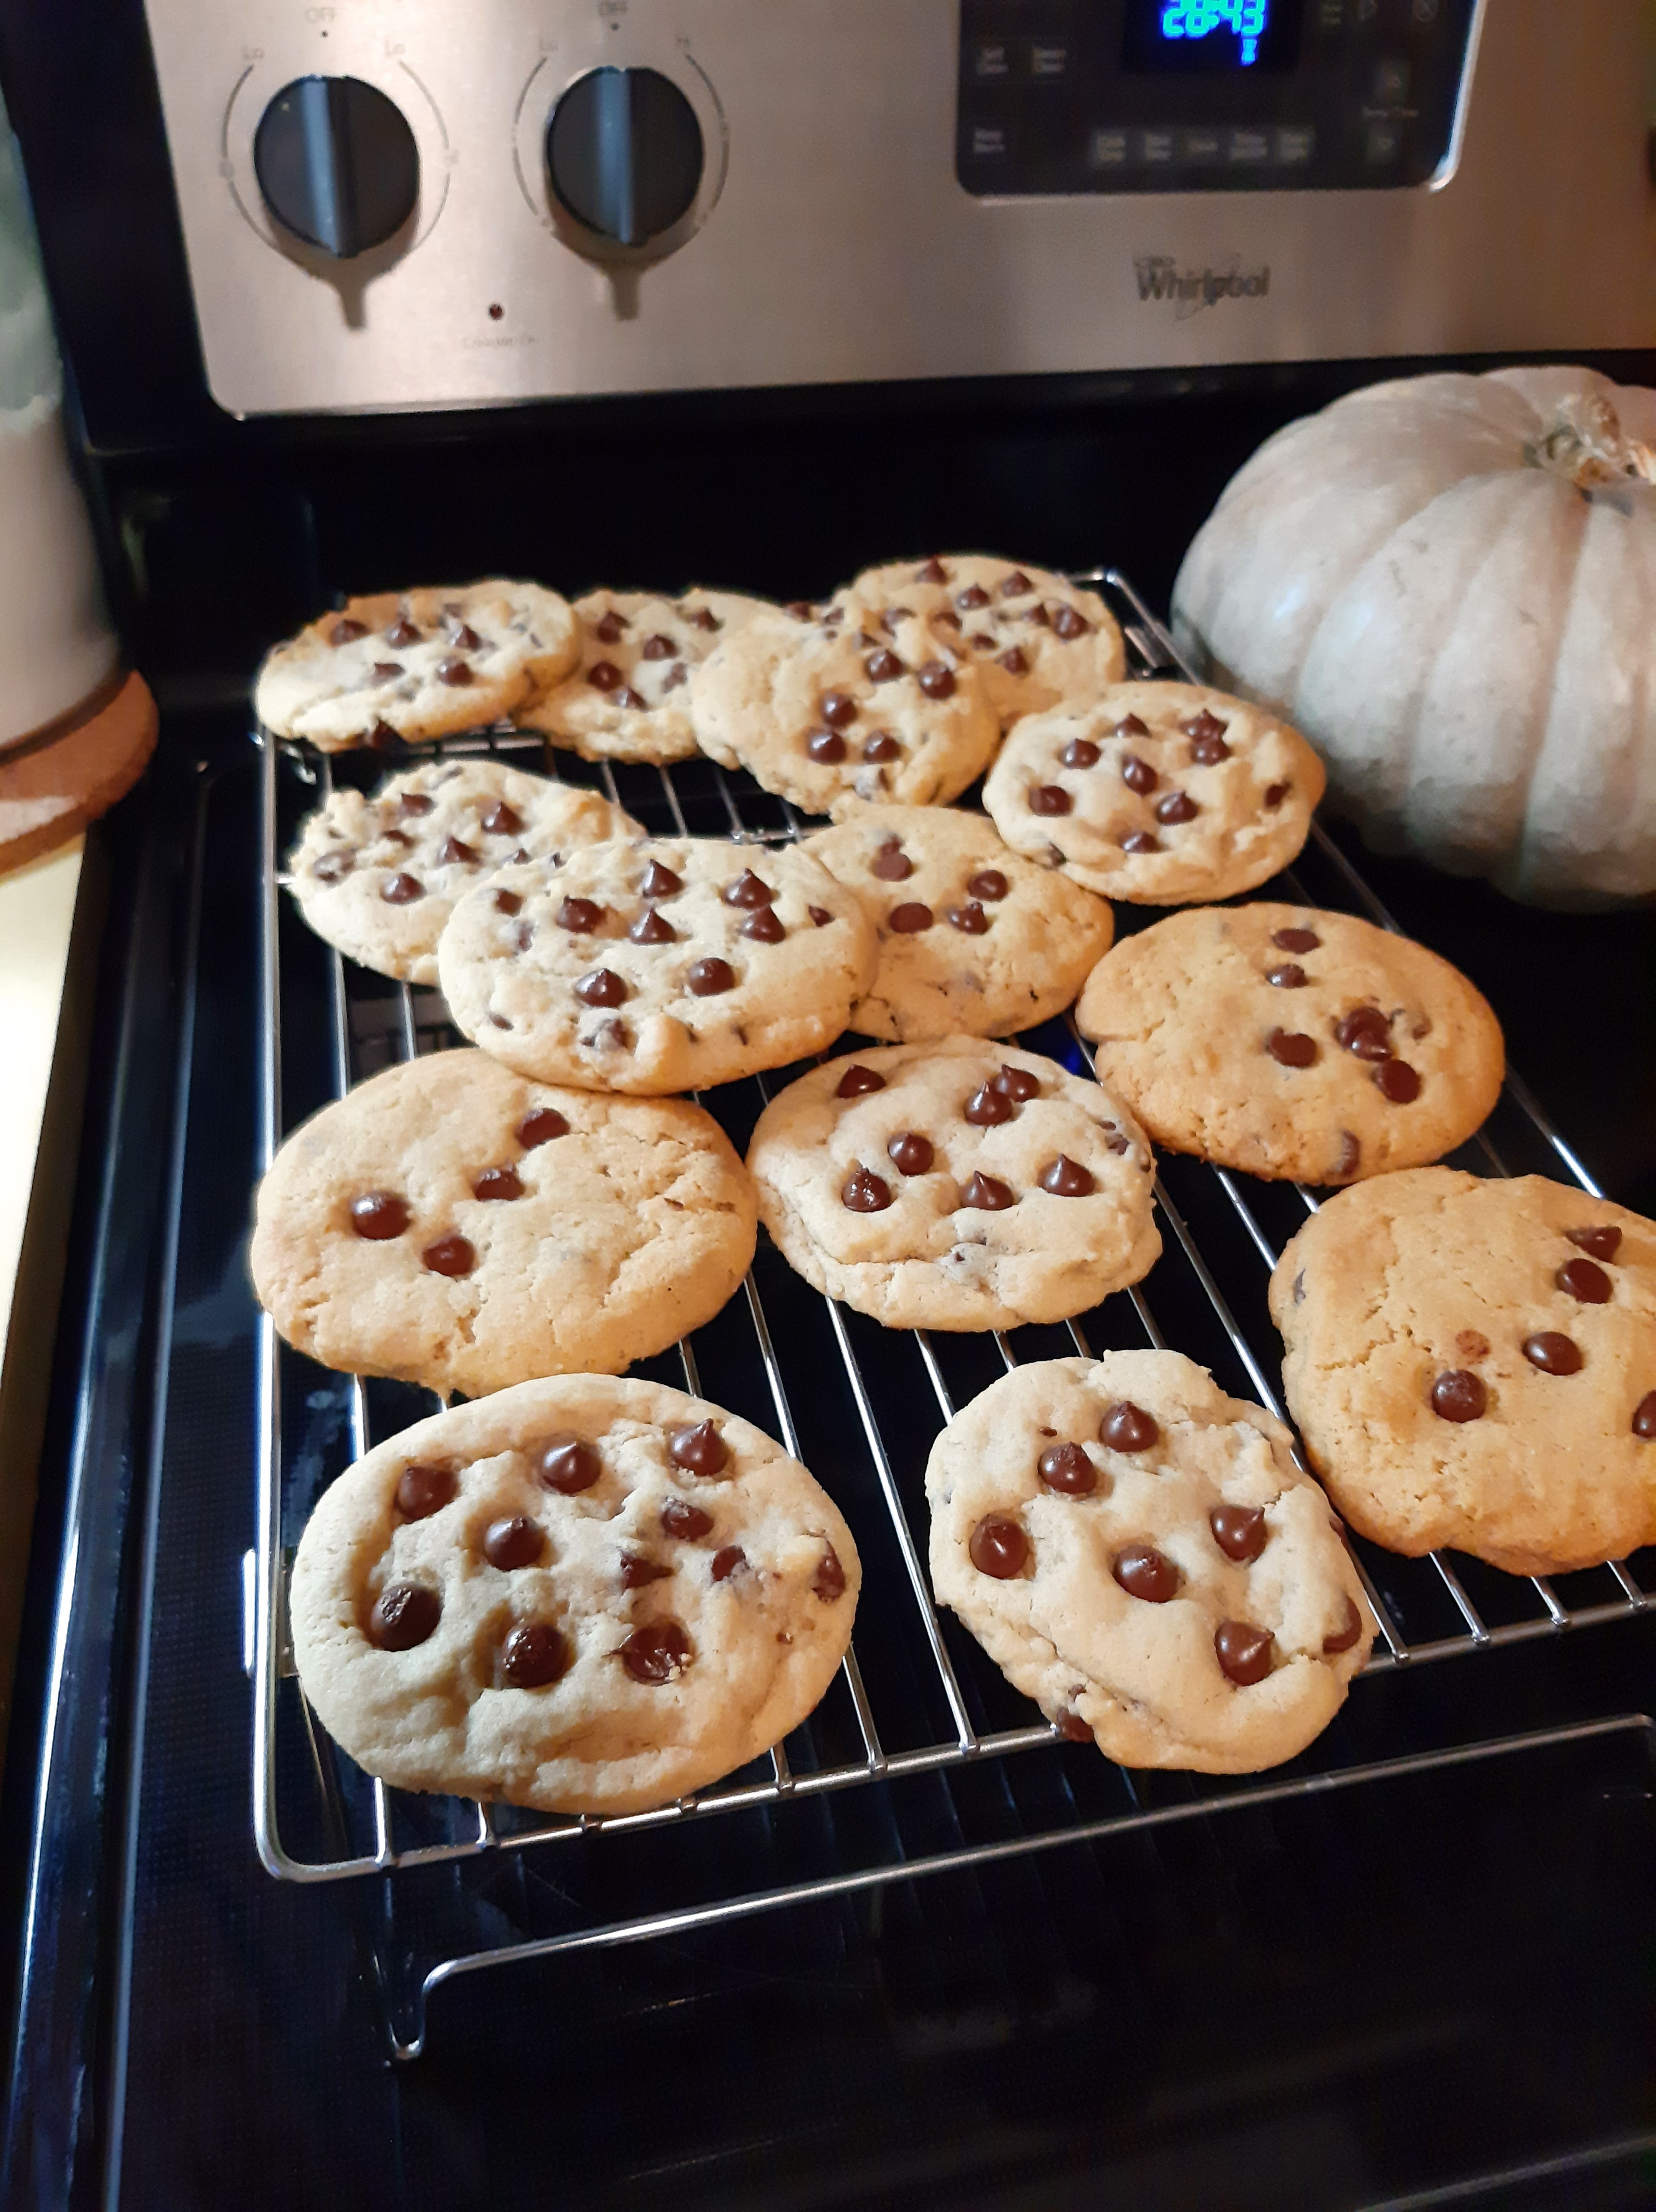
Nothing is more comforting in our house than a warm chocolate chip cookie straight from the oven. I have about 20 different ways to make chocolate chip cookies, but these five are our most loved. 

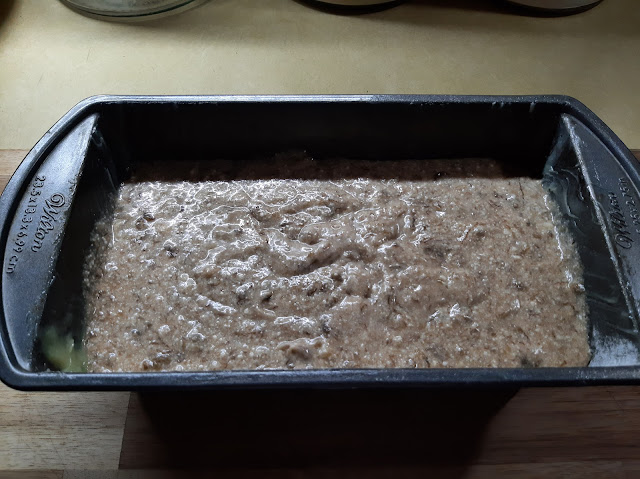
#1 •Coconut-Oatmeal Chocolate Chip Cookies:

2/3 cup butter, room temperature
2/3 cup coconut oil, solid
1 cup granulated sugar
1 cup brown sugar
Cream together until light in color and "fluffy"
2 eggs (add one at a time)
2 tsp. vanilla extract
Mix until well combined
In a separate bowl:
1 1/2 cup all-purpose flour
3 cups rolled oats
1 tsp. baking soda
1 tsp. salt
1 tsp. cinnamon
Add dry to wet
Bake at 350 degrees for 10 minutes
(Makes three dozen)

***

#2 Chocolate Oatmeal Cookies:

1 1/2 cup granulated sugar
2 cubes butter
2 tsp. vanilla
1 tsp. baking soda
1 tsp. salt
1/2 cup cocoa
2 tbs. honey
2 eggs
2 cups flour
1 tsp. baking powder
2 cups rolled oats
2 cups vanilla chips
Cream sugar, honey, butter, eggs, and
vanilla together until light in color.
Sift dry ingredients together until combined.
Add vanilla chips and drop by tablespoonfuls.
Bake 10 minutes at 350 degrees.
(Makes three dozen)

***

#3 Soft Chocolate Chip Cookies:

2 cups butter
2 cups brown sugar
1/2 cup granulated sugar
2 tsp. vanilla
5 eggs
5 cups flour
1 tsp. baking soda
1 tsp. baking powder
1 package chocolate chips
Cream butter and sugars until light and fluffy.
Add vanilla and eggs. Beat well.
Add dry ingredients together and add to 
butter mixture. Add chocolate chips and mix 
to incorporate. Drop by teaspoonfuls and 
bake 10 minutes at 350 degrees.

Of course, all of these recipes are a bit different, but give the same result of a chocolate chip cookie. Bake all of them at random times and find out which one is your favorite. The quality of ingredients are important here with these recipes. Keep in mind, when you use lesser quality ingredients you will get a lesser quality cookie. We eat only organic in our household, and your tastes are geared towards what you eat on a regular basis. If you are not completely organic, change one ingredients in your recipes at a time when you cook or bake and eventually you'll be using all organic for certain recipes. Try on of these chocolate chip cookie recipes with all organic and see how you like it.

#4 Peanut Butter Chocolate Chip Cookies:

1 cup unsalted butter, room temperature
1 cup creamy peanut butter
1 cup granulated sugar
1 cup brown sugar, packed
2 large eggs
2 cups flour
1 tsp. baking soda
2 cups semi-sweet chocolate chips

Preheat oven to 325 degrees and line two baking 
sheets with parchment paper.
Cream butter until smooth and add peanut butter,
and both sugars, beat well until combined.
Add eggs and beat well. Mix dry ingredients together.
Add dry ingredients to wet ingredients gradually until combined.
Stir in chocolate chips by hand. Scoop small portions onto sheet.
Bake 15 minutes until just firm around edges. Don't overbake.
(Makes two dozen)

***

#5 Easy Chocolate Chip Cookies:

3 1/2 cups flour
3/4 tsp. baking soda
1/2 tsp. salt
2 sticks melted and cooled butter
1 1/4 cup granulated sugar
1/2 cup brown sugar
2 eggs
2 egg yolks
1 tbsp. vanilla
2 cups chocolate disks

Preheat oven to 325 degrees. Beat butter and sugars until fluffy.
Add eggs, and egg yolks. Combine after each addition, but do not
over mix. Add vanilla. Combine all dry ingredients until combined and 
add dry to wet mix and mix well. Add in chocolate disks by hand.
Bake about 10 minutes until edges are just golden in color.

And lastly, since we can all admit that we eat some of the cookie dough before it reaches the oven, here's a better version of cookie dough that won't have the potential to possibly make you sick.

Edible Cookie Dough:

1/2 cup melted butter, cooled
1 tsp. vanilla
2/3 cups water
1 cup granulated sugar
1/4 tsp. salt
2 1/2 cups (heat-treated flour)*
1-2 cups chocolate chips (depending on taste)

Combine melted butter, vanilla, water, and 
sugar until smooth. Add salt and flour to mix.
Mix thoroughly before adding chocolate chips.
Eat right away, or refrigerate for up to three
days. Try freezing into balls and dip in
melted chocolate.

*How to make heat-treated flour:
Heat by one cup at a time in microwave.
30 minutes at a time, stirring between,
Make sure the flour reaches 165-170 degrees
before removing. Or, place in oven at 300 degrees.
Spread evenly on a cookie sheet and bake for about
five minutes. Check the flour in several places
to make sure it has reached 165 degrees.

Soft Gingersnaps

 One cookie that gets made yearly in our house is gingerbread. I've yet to attempt to create a gingerbread house from this recipe, but I'm eager to try, so maybe next year I will give it a try and see if I can create a house from my recipe. But for simple gingersnaps, this recipe is our all-time favorite. It's a quick recipe that combines the great taste of gingerbread with a snap to them that you get from store-bought gingerbread cookies.

  • 1 1/2 cups flour
  • 1/2 tsp. baking powder
  • 1 tsp. ground ginger
  • 1 tsp. nutmeg
  • 1/2 tsp. cinnamon
  • 7 tbsp. sugar
  • 1/2 stick cold butter
  • 1 tbsp. honey
  • 1 tbsp. molasses
  • 2 egg yolks (separated)
Preheat oven to 400 degrees F. Cover a cookie sheet with parchment paper and set aside.
Mix dry ingredients together in a medium-sized bowl. Add butter to mixture, honey, molasses, and one egg yolk. Mix until it forms a dough. I mix with my hands, because it's easier than using a spoon. Mix until smooth. If mixture is too wet, add more flour, if too dry add more honey, or molasses.

Roll globs of dough into a ball, depending on how big you want your cookies to be. Mine are about two tablespoons in size. Place dough balls on cookie sheet and lightly press down just a little bit. Beat remaining egg yok and brush a small amount on top of each cookie and sprinkle with granulated sugar. Bake for about 10-12 minutes for soft ginger cookies, or 14-15 minutes for harder cookies. Do not overbake.


Ginger is known to help aid in digestion, provide some relief from varicose veins, and reduce inflammation. These cookies can be paired with ginger tea to provide an even more ginger experience. Take freshly grated ginger (1-2 tbsp.) and one cup boiling water. Steep for about 10 minutes. You can add honey, lemon, or even cinnamon to your tea and enjoy up to three cups a day.

Peanut Butter Cookies

This past weekend we decided not to hit the waves, but clean out a lot of forgotten spaces in our house. One space being the pantry. We are good at rotating foods in our pantry, but every once in awhile we find out we have more of one item than we think. This weekend it was peanut butter. Six jars later we realize that we are pretty set on having enough for awhile. I tried to think of ways to use it and there is so many possibilities. After sorting through all of the options, we agreed on making peanut butter cookies and played around with some of the chocolate candies we picked up at the local food co-op here. We love these chocolate candies and they are similar to M&M's, but are made with Fair Trade chocolate and dyed with better ingredients. Since changing our eating habits to better quality, it's amazing how many things that once tasted "good" now taste off. One of the main products I've noticed the change in taste is chocolate and peanut butter. I used to love Hershey's, especially Hershey Kisses, but now, nope. I can't eat them without feeling like I'm eating chocolate-flavored wax. These chocolate rainbow drops can be purchased online here, if you wanted to use them like we did in this recipe. Here's how we made our peanut butter cookies.

Ingredients:

1 cup organic peanut butter, 1 cup organic sugar

1 large organic egg, ½ cup organic flour

Chocolate candies

Preheat oven to 350 degrees. Mix the peanut butter, sugar, egg in a mixer and add flour on low speed until well combined. Don't over mix, just enough to combine everything and make a wet/oily dough base.

Roll into balls, or create your own pattern of cookie. Pressing a fork into the tops of the cookies creates the lines on the top of the cookies shown here. Add the chocolate candies anywhere on the cookies that you chose. Bake for 15-20 minutes, or until the tops of the cookies start to brown a bit. 

These cookies are great when they are still slightly warm.

Lemon Squares

I hate cooking. Anyone that knows me well will tell you that. Cooking, baking, or even standing in the kitchen making a sandwich, I hate it all. Which, seems odd to say, as most people that are in my bloodline seem to enjoy it a lot. I've never been one to find any joy in it. I've heard people say that it gives them joy, or melts their heart to watch people eat what they've cooked. Nope, not me. If you like it, cool, if not, I'm not surprised. Ha! But, there are random times where I will go into the kitchen and make something completely unexpected. Skylar tells me all the time that he likes that part of me the best. When I cook, or bake something that no one expects. He tells me that's his favorite kind of cooking and describes me as-"The unexpected cook." 


The unexpected baking I did this week was lemon squares. I took advantage of our local food co-op's citrus sale in January and stocked up on organic Meyer lemons. I ended up juicing all of them and freezing the juice to use at a later time. Well, this week was the "later time." 


These lemon squares are five ingredients and are delicious and easy to make. 
Here's what you'll need:

For the crust:

Preheat oven to 350 degrees F, or 176 degrees C.

Mix butter, 2 cups of the flour, and ½ cup of the sugar in a bowl. Press the dough into the bottom of an ungreased glass 9x13-inch* baking dish. Bake for 15-20 minutes until lightly golden. Do not over bake. Set out to cool completely.
(*roughly)


For the lemon filling:

Mix in a stand mixer with the whisk attachment, or by hand, 1½ cups of sugar, ¼ cup flour, all of the eggs (one at a time), and add the lemon juice slowly. 


Pour over the top of the cooled crust.


Bake at 350 degrees F (176 degrees C) for 20 minutes, or until the top is firm and set. 
Allow to cool completely before dusting with powdered sugar. This step is optional, but it does make for a tastier lemon square and it just looks pretty. Place them on a plate and serve. We like to eat them when they are still a slight bit warm, but they are also delicious when they are chilled.


Abeego Food Wrap

Surely, by now, you've heard of the different forms of beeswax wraps for your food and other items. But, have you heard of Abeego? They have such cute designs and varieties and for a limited time they are offering a sample of their beeswax warps for free. It's a small size that will handle an avocado, half a lemon slice, or even a stack of crackers. I like to take the beeswax wrap and cut them into smaller squares and use them to wrap around our toothbrush heads, or cut them into strips and use them to coral pencils together, or silverware for a picnic. The possibilities are really endless with these beeswax wraps. The best part  about them, when they have reached their end of use lifecycle, you can add them to your compost, or use them as a makeshift lighting tool for a campfire or fire pit during a get together. You can use code (EVERYDAYECOABEEGO) to try the small size and then give feedback here on the blog, or on their site about what you think of their beeswax wraps. I guarantee you'll be wanting more. I have every size and shape of beeswax wraps and because of them we have completely cut out cling wrap, or any type of plastic wrap for over two years now. They really do work great and keep food fresh and safe just the same as plastic. We use them for our road trips and while traveling, too, and we just love them. Give them a try! And, right now they are offering free shipping on all US orders. Check out their giant Abeego for bagging breads and other large items.


TAKE THE AVOCADO CHALLENGE WITH YOUR NEW WRAP:

1. Slice your avocado in half and wrap in Abeego with the pit still in place.
2. Place in the fridge, pit side up.
3. Wait three days, then unwrap. How does it look? Taste? Smell? Feel? How is it different than other halved avocados you've pulled out of the fridge? If you're keen to push the boundaries, wrap it back up and keep going.
4. Show off your avocado. Share your avocado results online and take @abeego and #BetterWithAbeego


AFTER 10 DAYS (with pit in):