Happy 85th, Maurice Sendak! -June 10, 2013


This Max costume was so fun to make. We all laughed till our sides hurt while we were making it, and all the while the movie "Where the Wild Things are" was playing in the background. I think we hit replay on it about six times.

For the Suit:

I started with 3 yards of fabric. I went with something a bit fuzzy, but not too bulky.

I had Skylar lay down on the material with his feet and head hanging off the edges.

I then traced a rough outline of his body on the material just for a guideline.

I had to do two different tracings for the body to get the layout just right.


Then I cut it out, giving at least a 3-inch clearance all the way around.


I then sewed the edges, right along the edge of the fabric, taking note of the 3-inch clearance and not sewing in further than that.

My sewing machine is very old, and super awesome!


When sewing make sure you leave the neck, wrist, and ankle cuts free.

I then had Skylar put the suit on and I trimmed where needed.


These were a rough trimming and nothing fantastic.


Once the suit was cut where needed and trimmed where needed I started in on the hat. I went with this pattern for the hat. The full instructions can be found here, as well. Jessy is great at explaining and it's a pattern where you can't go wrong really!
For the Crown:


We took a Burger King crown.

Cut the end off to make them come to a point.


Then modeled it around the house. We have this weird obsession with Hexaflexagons in our house currently.

To make it shiny and gold, I used spray adhesive and fine-grain glitter. Similar to these:


Just my luck that it rained the next day and washed the gold glitter from the sidewalk.


I poked brown pipe cleaners into the sides of the hat and knotted the ends so they would stay put. Then used self-stick velcro on the hat ends to keep it closed under his chin.
For the Scepter:

What you'll need is a wooden dowel, newspaper, a solid foam ball, gold glitter, spray adhesive, aluminum foil, and a big jewel.

Spray the foam ball with the adhesive and apply the gold glitter. Work in sections and allow to dry between sections to prevent smearing. Once the glue has dried completely, drill a starter hole into the foam ball and add a few drops of Elmer's glue inside the hole. With a hammer beat the wood dowel into the hole till it is secure and allow to dry overnight. Finally, take a large sheet of aluminum foil and fold into a fat rectangle ribbon and place around the top of the foam ball. You can secure the foil with gem-headed push pins or staples. Cut the top of the foil into triangles to make the scepter appear to be sharp at the top, like the picture below.

Apply your jewels around the sides and the top. Sew on large buttons onto the front of the suit and make sure not to rip the material like I did and have to cut some of it off. Learn from my mistakes and actually put some material behind the buttons when you sew them on. Poor little Skylar lost about five-inches of material and it looked tight on him. Lesson here on sewing and I won't repeat that mistake. Anyway, after the buttons are on, Max comes alive!

For the gloves/paws. I took white gloves and cut the finger holes into "claws."

I used a strip of faux fur from a snow coat of Skylar's and just used a large safety pin to pin it on, but I am sure the same affect could be achieved by using about 1/2 a yard of faux fur and rolling it, pinning it together, and then pinning it on the butt of the costume.

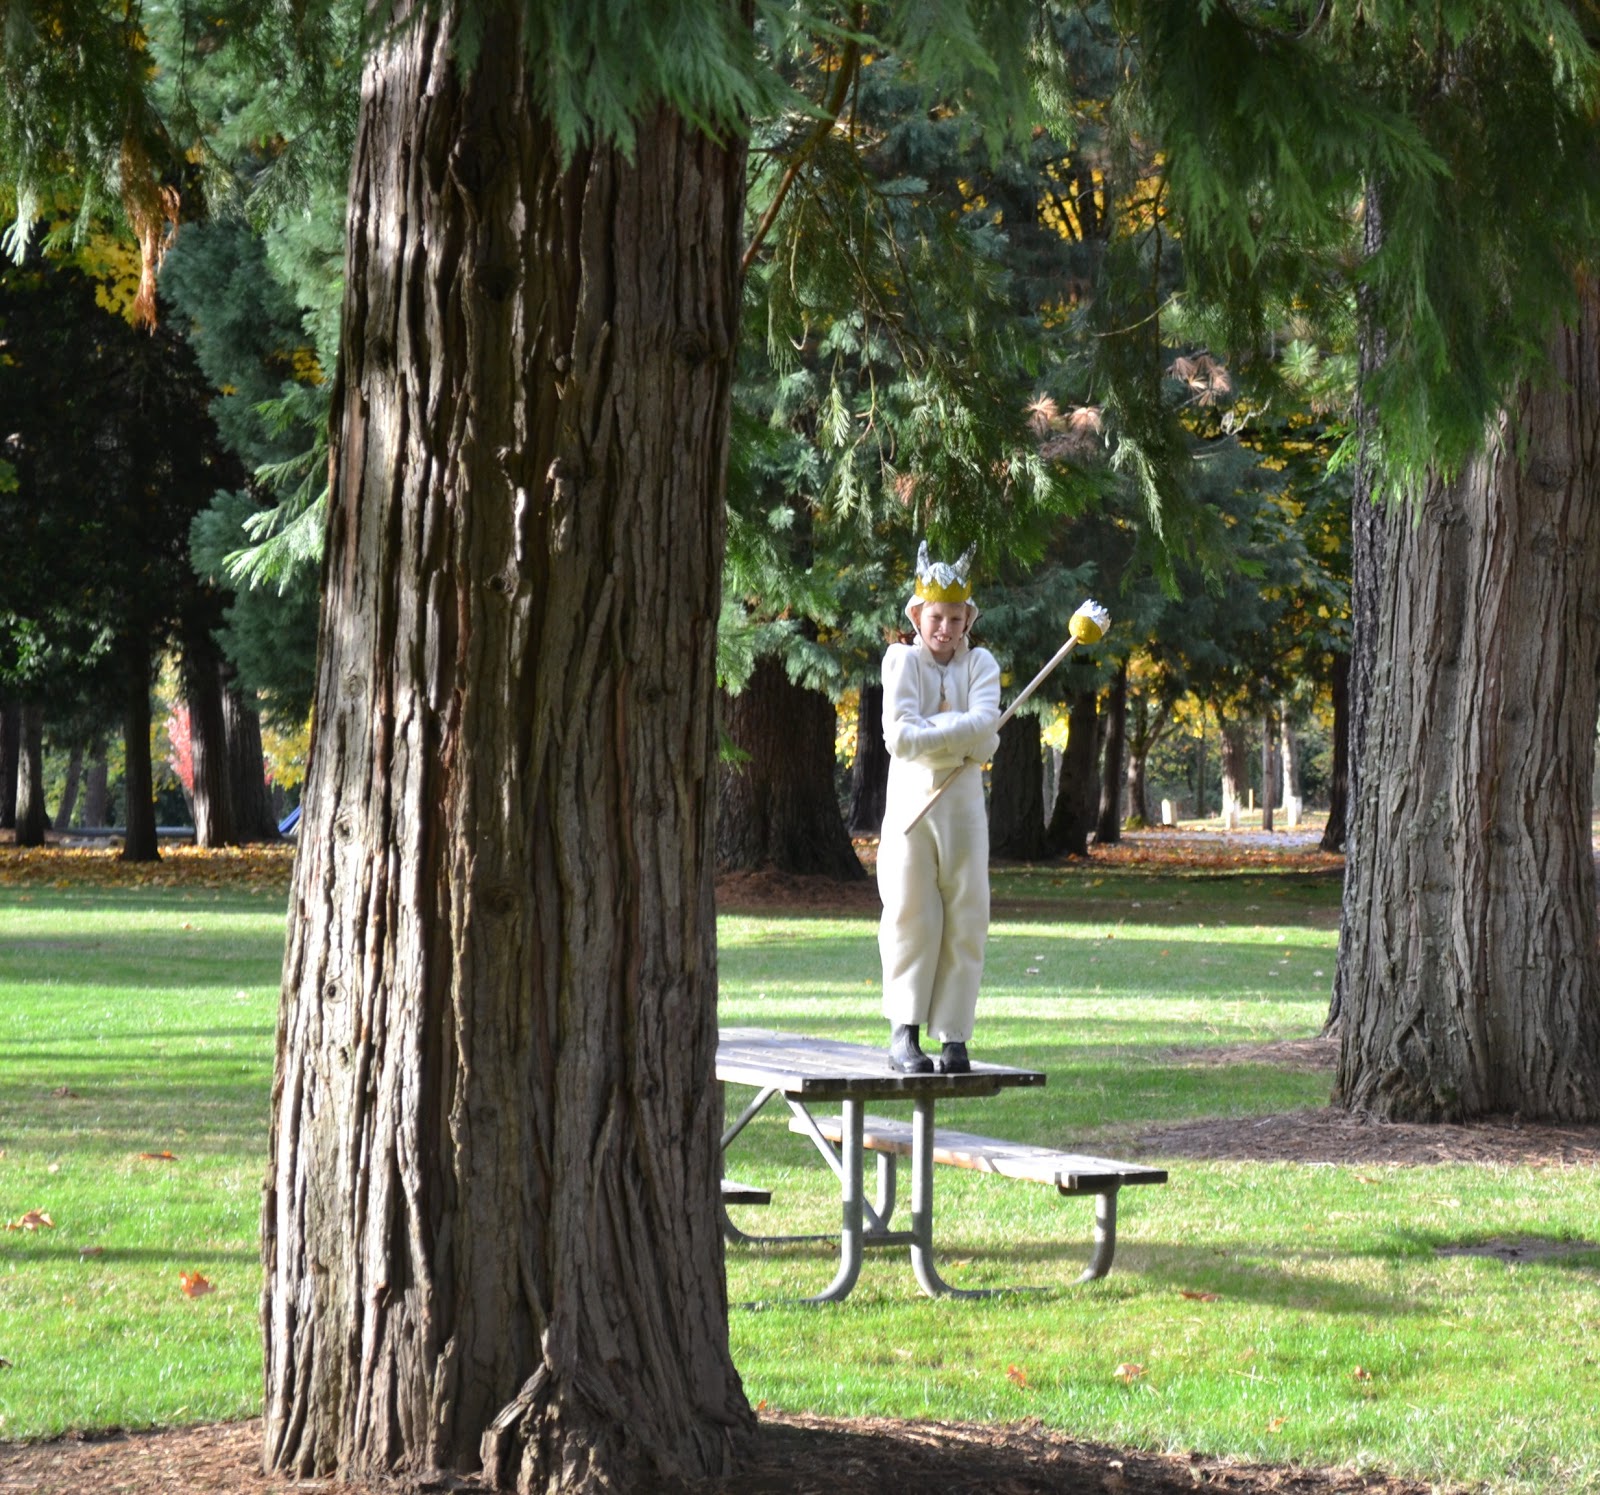
Skylar had a blast being Max for Halloween. I am really pleased with this costume and I hope these tips help you create a Max in your own home!


Eco-Tip: Use cloth napkins instead of paper at home during meals. Cloth napkins can be washed and used over and over again rather than paper that ends up just being thrown away. For this and other tips on going green visit, The Earth and Me Go Green.
Originally published on South North South on November 4, 2012 and republished on June 10, 2013.